A little how to tutorial…
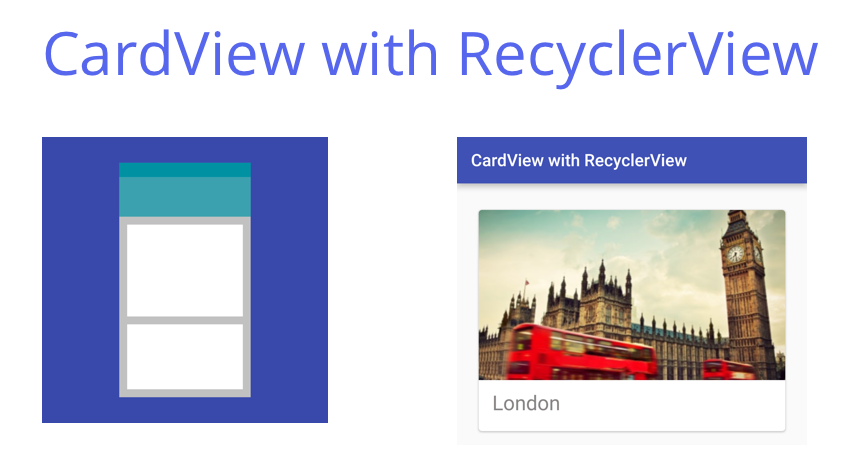
One of the most common UI widgets that have increased in popularity on Android and are the art of Material Design are CardViews. CardViews can be put to good use when combined with RecyclerViews. CardViews extends the FrameLayout and is supported on Android 2.X. In this post I will demonstrate how you can create one for your app.
Let’s begin! Start by creating a new android project with an empty activity.
Add the following dependencies to your build.grade as we require these in order to use the widgets:
dependencies {
	...
	compile 'com.android.support:recyclerview-v7:24.1.1'
	compile ‘com.android.support:cardview-v7:24.1.1’
}
NB: Don’t forget to hit that sync now button! Add the following widget to your activity_main.xml layout:
<android.support.v7.widget.RecyclerView
    android:id="@+id/recycler_views"
    android:layout_width="match_parent"
    android:layout_height=“match_parent”/>
Next, in your MainActivity.java initialise the RecyclerView in your onCreate method:
RecyclerView recList = (RecyclerView) findViewById(R.id.recycler_views);
recList.setHasFixedSize(true);
LinearLayoutManager llm = new LinearLayoutManager(this);
llm.setOrientation(LinearLayoutManager.VERTICAL);
recList.setLayoutManager(llm);
CardViews can be used to display anything, in this case I will be using it to display an image and text for a place.
-
TextView will be used to show the name of the place.
-
ImageView will be used to show an image of the place - this will be wrapped around a FrameLayout.
Create a new XML layout file for your CardView as follows:
<?xml version="1.0" encoding="utf-8"?>
<android.support.v7.widget.CardView
    xmlns:android="http://schemas.android.com/apk/res/android"
    xmlns:card_view="http://schemas.android.com/apk/res-auto"
    android:id="@+id/card_view"
    android:layout_width="match_parent"
    android:layout_height="260dp"
    card_view:cardCornerRadius="4dp"
    android:layout_marginTop="15dp"
    android:layout_marginLeft="9dp"
    android:layout_marginRight="9dp"
    android:layout_marginBottom="10dp"
    card_view:cardElevation="2dp"
    android:foreground="?android:attr/selectableItemBackground">
    <LinearLayout
        android:id="@+id/place_base"
        android:layout_width="match_parent"
        android:layout_height="match_parent"
        android:layout_gravity="bottom"
        android:orientation="horizontal"
        android:transitionName="tNameHolder">
        <TextView
            android:id="@+id/place_name"
            android:transitionName="placeName"
            android:layout_width="fill_parent"
            android:layout_height="50dp"
            android:paddingLeft="@dimen/activity_horizontal_margin"
            android:paddingRight="@dimen/activity_horizontal_margin"
            android:alpha="0.8"
            android:textColor="#6A6565"
            android:textSize="24sp"
            android:layout_marginTop="210dp"/>
    </LinearLayout>
    <FrameLayout
        android:layout_width="match_parent"
        android:layout_height="200dp">
        <ImageView
            android:id="@+id/place_image"
            android:transitionName="image"
            android:layout_width="fill_parent"
            android:layout_height="200dp"
            android:scaleType="centerCrop" />
    </FrameLayout>
</android.support.v7.widget.CardView>
In order to show content on a card, you will need to create a data model for the content you want to display.
Create a java class called Places.java:
public class Places {
    private String mName;
    private int mThumbnail;

    public String getName() {
        return mName;
    }

    public void setName(String name) {
        this.mName = name;
    }

    public int getThumbnail() {
        return mThumbnail;
    }

    public void setThumbnail(int thumbnail) {
        this.mThumbnail = thumbnail;
    }
}
Also, create another class called CardAdapter.java. We will be using the view holder design pattern for the adapter. The adapter is a representative of what we want to display on the UI of our app. If we want to display places on our CardView, we need this adapter to do so. This adapter must extend the class RecyclerView.Adapter to implement the ViewHolder pattern.
public class CardAdapter extends RecyclerView.Adapter<CardAdapter.ViewHolder> {
… }
Let’s go through what this class contains. The items declared in our XML layout in our CardView representing a place, these will need to be initialised to our custom view holder.
public class ViewHolder extends RecyclerView.ViewHolder {
	public ImageView placeImage;
	public TextView placeName;
	public Context context;
	public ViewHolder(final View itemView) {
	    super(itemView);
	    placeImage = (ImageView) itemView.findViewById(R.id.place_image);
	    placeName = (TextView) itemView.findViewById(R.id.place_name);
	    context = itemView.getContext();
	}
}
Create an array list to store your data. For our case its for our Places class:
List<Places> placesList;Create a few data objects for the data you want to store and display on your CardView as follows:
public CardAdapter() {
	super();
	placesList = new ArrayList<Places>();
	Places place = new Places();
	place.setName("London");
	place.setThumbnail(R.drawable.london);
	placesList.add(place);
}
NB: make sure you have added your images the imagies you will be using to the drawable folder (app -> res -> drawable)
This is to count the number of places in the list.
public int getItemCount() {
	return placesList.size();
}
This is to set the values of your fields of the CardView.
@Override
public void onBindViewHolder(ViewHolder viewHolder, int i) {
    Places place = placesList.get(i);
    viewHolder.placeName.setText(place.getName());
    viewHolder.placeImage.setImageResource(place.getThumbnail());
}
This method is used to initialise your ViewHolder.
@Override
public ViewHolder onCreateViewHolder(ViewGroup viewGroup, int i) {
View v = LayoutInflater.from(viewGroup.getContext()).inflate(R.layout.cardview, viewGroup, false);
ViewHolder viewHolder = new ViewHolder(v);
return viewHolder;
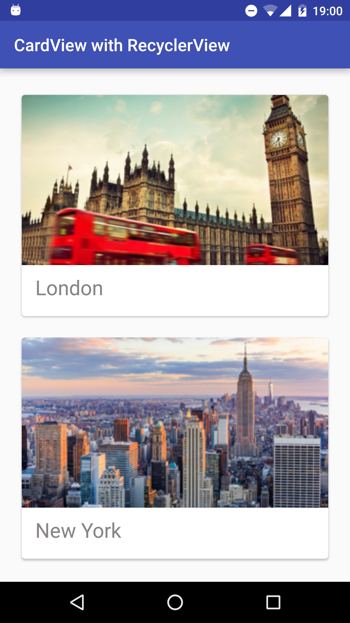
}If you have followed the tutorial and run your app, you should see something similar to below:
Thanks for reading! If you have any questions, feel free to email or tweet me. ![]()
Project available on github